Showing posts with label tuesday tutes. Show all posts

Friday, 27 May 2011

Botching Update

Thank goodness for ribbons and fabric stashes!

Tuesday's disaster of a clothing tutorial is in the process of being rescued, thanks to some lovely broderie anglaise fabric and some stashed cotton lace and the time-honoured technique of botching it better.  I already had the broderie anglaise as I am in the process of making myself a shirred dress with it, which I intend to embroider with some shisha work and bright, silk thread.  Watch this space for that particular beauty!


Since the original top had only one seam, I simply split that back open, measured out the extra fabric I needed to make up size, shirred that and sewed it in to make a contrasting front panel.


A little lace to break up the border between the two and some coordinating straps, and things are going well.  I still need to add lace to the other side, and a little lace along the neckline to finish it and keep the dress fitting as I want it.


I also need to trim the rough edges, play around with strap length at the back and hem the bottom.  Next week I'll show you the steps I took to fix the top when it all went wrong, including showing you what to do when the stitching holding the shirring elastic pops!

With any luck, I'll have a lovely, well-fitting top to show off, too.

Tuesday, 24 May 2011

Tuesday Tutorials; The How Not to do it Edition Part 1

Todays Tuesday Tute was going to be all about making simple, well-fitting tops and dresses for large-breasted or otherwise curvy women using a simple method with shirring elastic.  Unfortunately, I managed to make a rather stupid mistake as you will see!


Now, I'm a large woman myself, and I have a lot of shapely bits.  I have large breasts, a large stomach that hangs mostly in the front with a relatively narrow waist, and wide hips.  Most high street clothes are built to suit women with the fashionable rectangular figure; a longish torso, not a large amount of variation in hip and waist measurements and a small-average bust.  Of course, those of us with large breasts or hips know that this means we either buy clothes 2-3 sizes larger to compensate, leaving us wearing items that hang off of us like shapeless binbags, or we put up with clothing that pulls and gapes in places.

Aside from the ever wonderful solution of wrap tops and dresses, there is also the shirred look.  You've almost certainly seen loads of shirred clothes this Summer, with the fashion for comfortable maxi dresses returning.  That heavily elasticated bust portion covered in horizontal lines of thin elastic, that then drapes and hangs from below the bust.  It looks lovely, suits a variety of shapes, and is easy to make.

It can also be expensive to make if you're buying the fabric new.  The fabric becomes narrower the more lines of shirring are added, so if you are large busted and need a deep shirred section, or even if you just want a deep shirred section for aesthetic reasons, you may find you need to use fabric up to twice the width of your bust.  For someone like me, with 58" circumference of boobage, this isn't really affordable.

This is where charity shops are a real lifesaver.  An unfitted bedsheet, quilt cover or other cotton bedding for a single bed can provide enough fabric for several tops, and a double enough for more than one generously shirred dress, for under £5.  The same amount of fabric bought new would likely cost around £10-£20, depending.  I buy cotton bedding with attractive patterns, or plain, and then dye it to brighten it up or cover up faded sections and colours I don't particularly like.

 Once you have your fabric, here is how you should measure your pieces.


Sit down and, while sitting, measure your bust at the widest point. Do this sitting to ensure that any changes in the dimensions of your bust caused by your underwire lifting it up are accounted for. If you have a small bust, measure instead the widest part of your body here, whether that be bust, hips or waist.

Now. Multiply that measurement by 2. I cannot emphasise this enough. Measure out the width of the fabric to double your bust measurement. Not one and a half. Not a few inches extra. Double.

Double.

We'll call this measurement A.

Next, take your measuring tape and position it horizontally across the front of your bust to decide where you want the neckline of the top to sit. The top will have a square neckline so you may want to position it a little higher than normal to avoid leaving your bra visible, although if you intend to add nice thick straps or sleeves afterwards this won't be an issue. From the neckline you've chosen, measure midway across your larger breast, down taking in the curve of the bust to where you want the bottom hem of the top to sit. I usually go to the bottom of the hip myself. This is measurement B

Separately, measure the curve of your bust a second time, from the neckline midway over your larger breast to where you want the shirring to stop. This is measurement C.


It is important to think carefully about the shape you want before measuring. See here, the diagram shows how the length of the shirred section (in green) will effect the final sillhouette of the fabric (red and green together) against different body shapes. It is best to decide what shape you want beforehand to give you an estimate of where the shirring will stop. Don't worry though; this isn't set in stone.

Next, cut a straight sided rectangle of fabric of length B and width A, plus an inch or 2 seam allowance. Mark the seam allowance along the length on each edge, and the line indicating measurement C, in tailor's chalk to help you keep your lines straight.

Put the fabric aside for a moment. Now you'll need to fill a bobbin with shirring elastic.
Follow the images as shown. Normally, when filling a bobbin with cotton you'd just do it on the machine. However, many machines will not do this neatly with shirring elastic, so you will likely need to do this manually.
Take the elastic and wind it onto the bobbin by hand, stretching it out as you wind it.
Keep it stretched as you wind so that it is tight on the bobbin and so that it feels as though it wants to unwind itself.


The shirring elastic bobbin goes in the compartment for the bottom thread on your machine, situated under the needle.


Now we're ready to begin! Take your fabric and position it right side facing upwards in the machine, so that you'll be stitching horizontally across the width of the fabric. Make sure your machine is set to a simple straight stitch, and put it on a wide stitch setting, much wider than you would for a seam.

Do the first 3-4 stitches manually rather than using the foot. Then sew as normal, using your hand to gently flatten the fabric as it passes through.


When you reach the end of a row, manually make 2-3 stitches vertically down the side of the fabric. Turn the fabric again so you are set to sew back along parallel to the first line. Again, do the first 3-4 stitches manually and then sew as normal to the end.


Repeat the process for as many rows as you need. Even if you haven't reached the chalk line marking measurement C, take the fabric out of the machine periodically and hold it against yourself to see how far down the shirring has come. You may decide you want a longer or shorter shirred section.

Keep in mind that the deeper the shirred section, the more narrow the final piece will be.  It will never stretch out back to the original width of the fabric, and you lose more width the deeper it becomes.  Hence why we start with double the width needed.


When you are done, simply remove the fabric from the machine.

Looks good, doesn't it? Now you want to sew the piece up into a top. Simply pin the fabric, right sides together, along the vertical line. Replace the shirring bobbin with a bobbin if plain cotton thread and reduce the stitch size to one more suitable for a seam. Sew this one straight line. Technically, you could be done here, but you may want to add straps.


The next step is to try the top on and see how it fits, in case you want to add more shirring before the next step. If you measured the fabric right in the first place you'll have a lovely, neat straight neckline across the bust, and the fabric should neatly conform you your bust shape without pulling or pinching.


If it looks like this, you've done it wrong. You didn't measure out enough fabric for yourself.  You can't see in the pictures, but the bulging continues down my bust and the shirring stops too high where it has been stretched too much.  It is also far too narrow at the waist; it fits nicely, but doesn't have the lovely drapey effect I wanted.

Fortunately for me, I have a couple of nieces aged 6 and 7 and I think this might just fit one of them perfectly as a dress!


Tune in tommorrow when I add part 2; turning this item into a child's dress including adding straps, finishing the edges and decorating with lace and pockets.

Tuesday, 3 May 2011

Tuesday Tutorials; Shisha Embroidery Stitches

I love embroidery.  It is such a simple way to add something unique to an item of clothing, to decorate something for the house or even just as a means of doodling.  There are hundreds of different stitches and techniques, and combining several onto a single piece can result in fantastic textured pieces.

One of the techniques I especially love is shisha embroidery.  You may not recognise the term, but you'll have seen the work.  Shisha is the term used most commonly for the little mirrors and coins you sometimes see worked into clothing and accessories.  The Wikipedia article explains the origins of Shisha;

The term "shisheh" means glass in Persian, from where the word transferred to Urdu/Hindi and other related languages. Shisheh embroidery was brought to India by the PersianateMoghul Dynasty and is now most common on the Indian subcontinent, especially in parts of Gujarat, Rajasthan, Haryana and Delhi. This type of embroidery lends a sparkling appearance to the brightly-colored clothes worn in the region, and is very popular for use on clothing, hangings, and domestic textiles.

The best things about shisha, aside from the beautiful finish it gives to work, are that it is surprisingly quick and easy to do, and very easy to cover up mistakes!  This makes shisha work a fantastic option for people like me, who love embroidery but aren't terribly good at it!

To start with, you will need the following items;

  •  Embroidery thread in various colours
  • One pair sharp scissors
  • Various sized embroidery and/or sewing needles
  • Items to shisha such as mirrored glass pieces, large sequins, coins, shells etc
  • One embroidery hoop
  • Fabric, preferably not stretchy


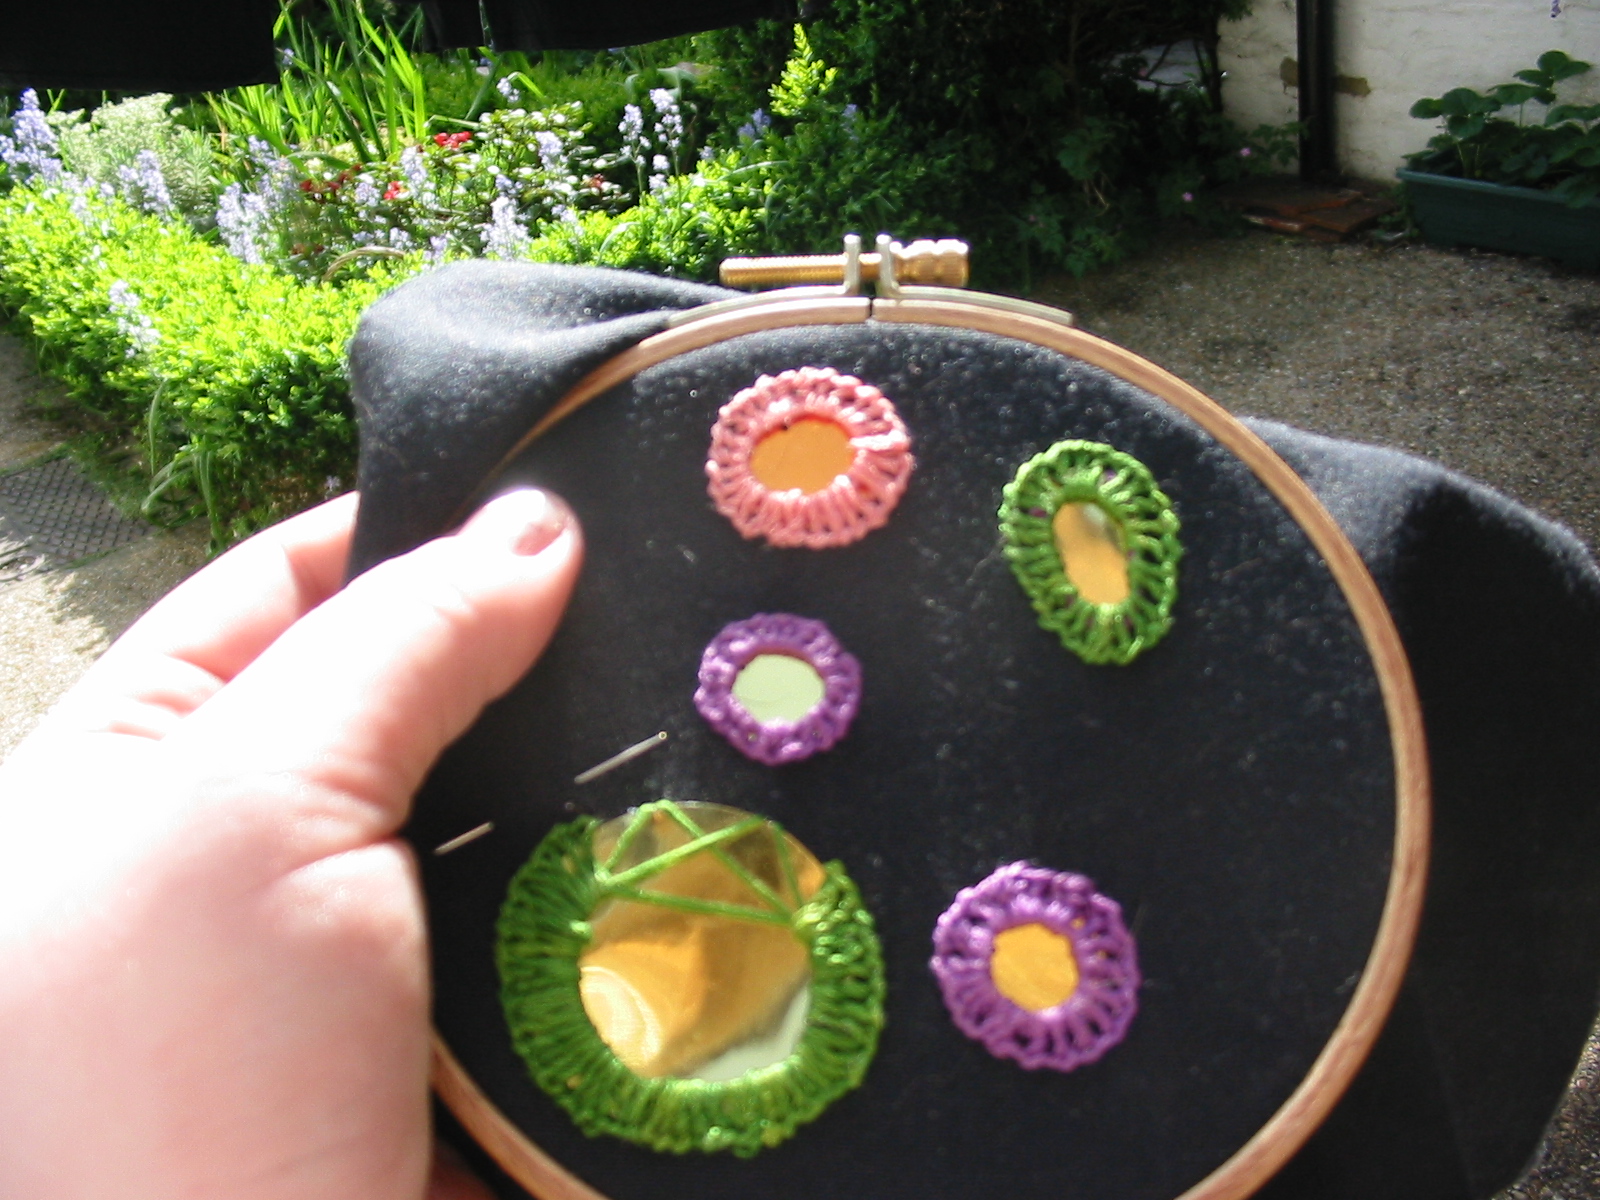
As you can see, I have already added a few pieces of shisha to my fabric.  One is incomplete.  I must apologise for the quality of the photos; my hands were shaking more than I realised, and by the time I noticed the good light had faded making it impossible to obtain better ones.

I would stress that, especially if you have never worked in shisha before, it is best to use a simple, non-stretchy fabric like cotton, cotton drill or canvas.  I would recommend that for any embroidery to be honest.  If you want to get me in a bad mood, nothing works faster than making me embroider on jersey!


 To begin, select an item to shisha and place it on the fabric.  First, make four quick stitches across the item as shown above, to hold it down.  Notice that the stitches cut right across the sequin, rather than skirting the edges.  This is important.  If you make the stitches to close to the edge of the sequin, then later when you're filling in the shisha they will pull apart too far and will not be able to hold the coin securely.

Next, add four further stitches at 45 degree angles to the first four, starting from the same points, as shown;


 If you added these stitches correctly they should form a rough eight-pointed star.  Don't worry too much if they are a little off, or a little wonky.  That will all disappear as you finish the embroidery.  The most important thing is providing a strong foundation of stitches that overlap each other, and an eight-pointed star is simply an easy way to do this.


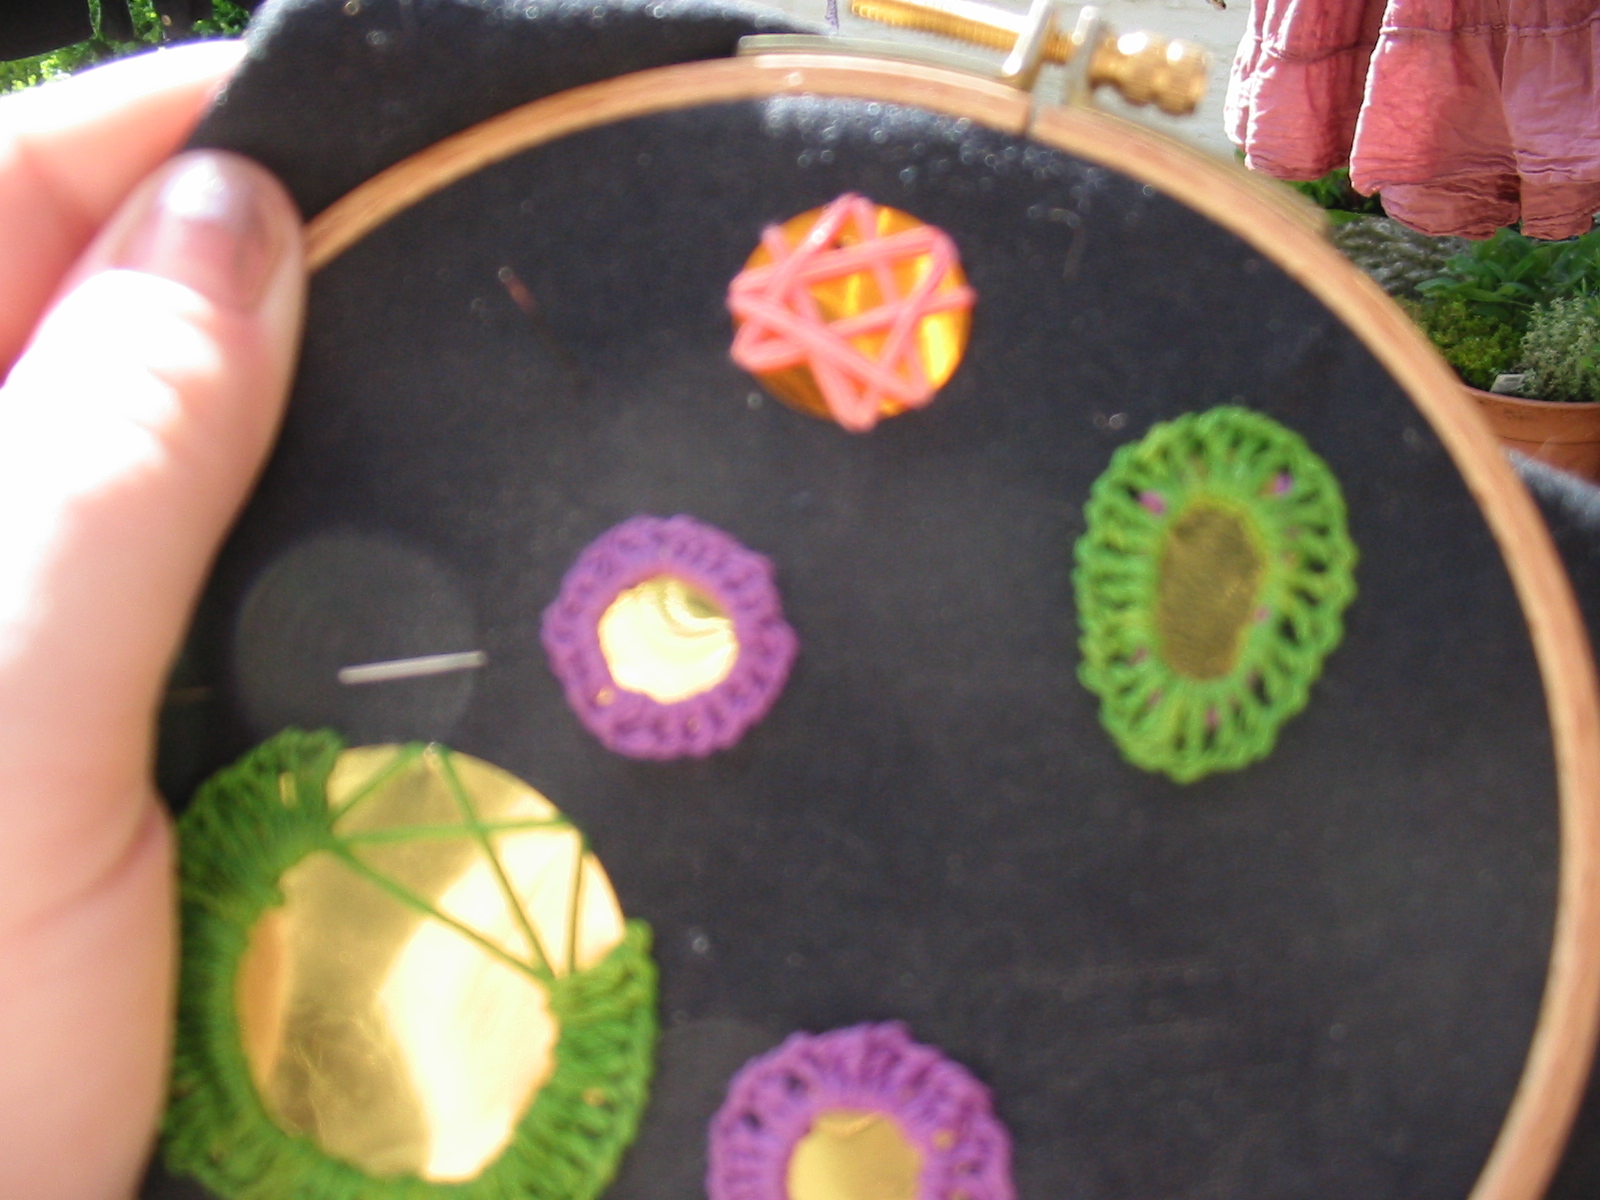
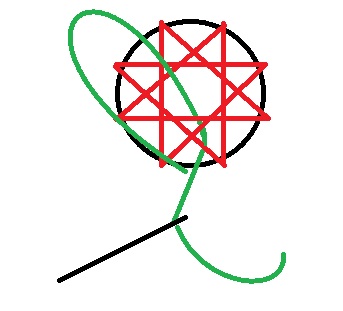
Now we are ready to get started on the main point of the embroidery.  Bring your threaded needle out through the fabric next to the coin.  You may have difficulty seeing in the photo above, but I want to emphasise that I did not bring the needle out right against the coin, but about 2-3 millimetres away from it.  You can do it further away, and you may even like to draw a circle border around the coin in tailor's chalk to help you, but I would not recommend getting too close to the coin.


This photo came out very poorly, so I have included a very professional windows paint-based diagram below!


Slip the needle under the foundation stitches, coming out just to the right of where the thread came through the fabric,


Give the thread a very gentle tug down.  You don't wat to pull it tight, just enough to tug the foundation stitches down a tiny bit.  Next, lift the thread up to the left out of the way.  Insert the needle next to where the thread came out, just to the right.


Bring the needle out just to the left of the stitch, running it over the thread .


As you pull the thread through, you will see that this forms a loop, securing the stitch in position.


It also leaves us in the perfect position for the next stitch.  Note that we are working clockwise around the sequin.


Again, run the needle under the foundation stitches, but over the thread.  Repeat as with the previous stitch.


Continue around the sequin, remembering not to pull the stitches too tight.

If you run short of thread before the end, don't worry.  This is very easy to deal with without breaking up the look of the work.


Complete the last stitch as normal.


When you would normally start the next stitch, instead simple run the needle through the fabric to the back to hold the last stitch in place, and knot it at the back.  Then, simply rethread the needle with new thread and continue at that point.


 When you reach the end of the work, finish it in the same way that you finished the end of the last thread above.

One thing you may notice is that my stitches are quite far apart.  There is nothing wrong with this practically, but aesthetically you may want a neater appearance.


Ordinarily I would fix gaps in the same colour thread as I started, but given the quality of these photos I felt a contrasting thread would be clearer.  Thread your needle and pull it up through to the front of the fabric between two existing stitches, where the gap you want to fill is.


As before, run the needle under the foundation stitches, taking care to keep it between the stitches either side of it (you don't want it to overlap one of them).  However, instead of making a knot, just push it straight back through the fabric very close to the point you started as possible,


The stitch fills in the gap giving a neater appearance, and the existing knots around the edge conceal the fact that this is a fixer stitch.  After using a contrasting colour above, I decided to fill in all the gaps on the work the same way, and then I decided to use the contrast to make a neat variation on the shisha work.


Isn't that nifty?  The contrasting thread run in between each of the main colour threads gives a slightly different appearance to the usual look.  Actually, I habitually fill in any gaps at the end of shisha with a matching thread anyway, because I find it looks more professional and makes the work "pop" a bit more, too.  That is one of the really great things about shisha; fixing mistakes is really simple.  Look at the next piece of work;


I didn't have time to do any more work on this piece today, (excuse the laundry hanging in the background!), but I eventually plan to add more work in other colours to the outside before cutting the piece out of the frame to make a patch.  It looks neat, doesn't it?  And pretty opulent with the purple thread between pale gold thread and a gold sequin.  Want to see what it looked like before I neatened it up?


I made a lot of mistakes on the work at first.  My knot border was uneven, some stitches were pulled too tight which made the stitches wonky and widened the gaps between stitches.  I also rushed the work, leaving much larger gaps than I ordinarily would.  In the end I went back around the shisha with the main colour thread about 2 more times filling in all the gaps and evening the shape, and then I used a pale gold chainstitch border to conceal the problems along the outer edge.  All in all, the work took about 30 minutes, with about 10 of those being spent fixing my mistakes.

So there you go!  Now you know the basics of shisha, why not mix it up a bit?  Try using only 5-6 foundation stitches, or maybe 10 or 12, and see how that effects the final appearance.  Work between the main colour with 2 more contrasting colours, add a thick satin stitch edge or try just running shisha around part of the coin, leaving gaps where no shisha or foundation stitches exist.

Check out Flickr for some fantastic variations on shisha by other artists.  You're sure to find inspiration!


Here are some favourites I found made by other people

shisha brooch

Shisha Stitch Experiment

http://www.flickr.com/photos/pennynickels/4253772391/

Shisha 5 detail

one embroidered stone!

Have fun!

And if you do give it a go, I'd love to see some examples of what you end up with.  Why not share links in the comments?