Friday, 3 June 2011

Father's Day Gifts are Here!


That's right! The supplies are in and the items are ready. The Seaweed and Juniper soap is already wrapped and ready to go, and the sandalwood and sea breeze soaps are just setting in the molds as we speak.

Want to treat your dad, your grandad or any other man in your life this father's day? What could be better than a rustic brown paper gift box stuffed to the brim with two - yes two - bentonite clay olive oil shaving soaps, one shea butter and almond oil moituriser, a lovely brown wood shaving soap dish and two soft, handcut towelling facetowels.


Want a scent you don't see here? I love custom orders and would be happy to make a customised gift set for you! Message me on Misi and I'll see what I can do.

Thursday, 2 June 2011

Thursday Playdates! Loobycrafts

Starting this week, a new regular feature called Thursday Playdates. Each Thursday, volunteers willing, I'll interview a Misi crafter and seller and let you know a little bit about them.

First up this week, is Loobycraft, who makes handmade cards and stationary, and offers some really cute pieces.


So Looby, tell me a little about yourself. You make handcrafted cards
and stationary, is that your main focus?

Cards were where it all began for me, and it has evolved from there really. Basically I love playing with paper and paints and stamps, it's often joked that if anything sits still too long in my house, it will be covered in paper - I just love to "prettify" things!

How long have you been a crafter?
I've always enjoyed making things, since I was a child. I have vivid memories of painting in the garden when I was little. As a teenager I started doing some cross stitch kits, and then I started cardmaking in 2004 - it snowballed from there really.


How long does it take to make some of your pieces? Is there a lot of
work involved?

It depends on the piece - some cards some be very quick to make, others can take ages, depending on the detail involved. Probably the most time consuming aspect of the cards, is hand colouring the stamp images I use. With the home decor projects, it's waiting for the paint to dry.

None of my pieces take that long though - mainly because I'm impatient by nature and like quick results!

Where do you draw inspiration for some of your pieces? I notice most of
your work has a very colourful, cartoony style.

I love bright colours - particularly pink! Which is probably why most of my stuff is quite girly. I don't really know where my inspiration comes from to be honest, I just sit and play until I come up with something I like!


What gave you the idea to start selling your items online?
After several years of crafting, I had amassed a huge stock of cards etc. and someone suggested I had a stall at a craft fair. To my surprise, it was very successful and as soon as I got home I googled where I could sell my stuff, found the MISI site, and the rest is history!

Do you do custom work, or would you be willing to if asked?
Yes, I love to do custom orders! Particularly special cards as they are a real challenge - I've been asked to make a Moomin new home card, an Incredible Hulk birthday card, and a Penguin themed notebook amongst others!

There are lots of examples on my facebook page


What other crafts interest you? Do you have any hobbies?
I enjoy scrapbooking and altered as well as cardmaking. My main hobby is my Horse, although I'm told that's more of an obsession than a hobby!

Do you have a blog where buyers can keep up to date on your
work?


Yes!


Where can buyers find you if they want to purchase your items?
They can find me on MISI and they can email me  if they'd like to discuss a custom order.

Great, thank you!  Is there anything else you'd like to tell us?
Thanks for reading!

Monday, 30 May 2011

Thursday Playdates!

I'm starting a whole new feature on the blog, now. From now on every Thursday, I'll take some time out to interview a Misi crafter individually.

Keep your eyes peeled for Thursday, when the first interview wil be posted!

Saturday, 28 May 2011

Fathers Day is On The Way!

Dear readers, fans and customers

I have found a great supplier for shaving soap brushes and bowls and have been thinking that I might just offer up some lovely gift sets in the run up for Father's Day on 19th June.  Plans are still in the air but if successful, I would plan to offer sets comprising one wrapped shaving soap with soap dish and brush and one tub of after-shaver's moisturiser, in rustic giftwrapping.

What do you think?

Although I am always happy to make custom items according to individual customers, realistically I will only be able to make around three batches of shaving soap in time.  So!  You tell me dear readers, which fragrances would you most like to see available in a men's shaving soap gift set? Make your preferences known in the poll below! Don't see a fragrance you like? Leave me a comment!


Which aroma would you most like to see in a shaving soap gift set?

View Results
Create a Blog Poll

Weekend Treats - Wedding Season!

With June on the verge of arrival, we're getting into wedding season here in the UK, and to celebrate I've decided to make this weeks Weekend Treats post all about Misi wedding accessories.

I know a lot of people use Etsy when looking for unique additions to their weddings, but Misi has a whole lot to offer, too!  Just take a look at my pick of the cutest, prettiest and quirkiest wedding accessories Misi has to offer.


First up this week is BlueButtonBride, with her unique and adorable take on bouquets. This gorgeous cluster of vintage buttons, lace and ribbon is beautiful, different and thriftily eco-friendly compared to the usual fresh floral arrangements.


Thyme2Dream's stunning elven forest ivy headband is not only incredibly beautiful, but also provides a resource for those hard-to-find accessories that combine elegance with a love of the natural world and fantasy settings. These lovely pieces would work well at a wedding for anyone from a Pagan to a LOTR geek!


Bev_Bremner's adorable custom cake toppers are well made and add a touch of fun to weddings. The cute style is very appealing, and I especially like that the toppers can be customised to show off both the happy couple and those close to them, like children and pets. A great way to include the family in the celebration.


I just had to include two of MaggieCook's bridal capelets. Elegant and different, these capelets add a touch of the vintage to bridal outfits. Since all of MaggieCook's works are one off and short-run creations, you're guaranteed to have a wedding outfit unlike anyone elses.

***

With such a wide range of cute ideas to choose from, it was very difficult picking just four sellers to feature this week.  These are just my favourites out of a whole range of cute and quirky options for brides-to-be.

And why not finish off your wedding table display with some handmade wedding favours by me?  Custom-made bath bombs wrapped elegantly in double layered wedding favour tulle, lace and ribbon, designed according to your wedding colours and your preferred aroma.  Bombs can be made with a subtle touch of glitter for an indulgent sparkle, or kept matt and at £50 per 25 favours, you're paying just £2 an item for something completely unique and tailored to you!  Check out my Misi shop for details!

Friday, 27 May 2011

Botching Update

Thank goodness for ribbons and fabric stashes!

Tuesday's disaster of a clothing tutorial is in the process of being rescued, thanks to some lovely broderie anglaise fabric and some stashed cotton lace and the time-honoured technique of botching it better.  I already had the broderie anglaise as I am in the process of making myself a shirred dress with it, which I intend to embroider with some shisha work and bright, silk thread.  Watch this space for that particular beauty!


Since the original top had only one seam, I simply split that back open, measured out the extra fabric I needed to make up size, shirred that and sewed it in to make a contrasting front panel.


A little lace to break up the border between the two and some coordinating straps, and things are going well.  I still need to add lace to the other side, and a little lace along the neckline to finish it and keep the dress fitting as I want it.


I also need to trim the rough edges, play around with strap length at the back and hem the bottom.  Next week I'll show you the steps I took to fix the top when it all went wrong, including showing you what to do when the stitching holding the shirring elastic pops!

With any luck, I'll have a lovely, well-fitting top to show off, too.

Tuesday, 24 May 2011

Tuesday Tutorials; The How Not to do it Edition Part 1

Todays Tuesday Tute was going to be all about making simple, well-fitting tops and dresses for large-breasted or otherwise curvy women using a simple method with shirring elastic.  Unfortunately, I managed to make a rather stupid mistake as you will see!


Now, I'm a large woman myself, and I have a lot of shapely bits.  I have large breasts, a large stomach that hangs mostly in the front with a relatively narrow waist, and wide hips.  Most high street clothes are built to suit women with the fashionable rectangular figure; a longish torso, not a large amount of variation in hip and waist measurements and a small-average bust.  Of course, those of us with large breasts or hips know that this means we either buy clothes 2-3 sizes larger to compensate, leaving us wearing items that hang off of us like shapeless binbags, or we put up with clothing that pulls and gapes in places.

Aside from the ever wonderful solution of wrap tops and dresses, there is also the shirred look.  You've almost certainly seen loads of shirred clothes this Summer, with the fashion for comfortable maxi dresses returning.  That heavily elasticated bust portion covered in horizontal lines of thin elastic, that then drapes and hangs from below the bust.  It looks lovely, suits a variety of shapes, and is easy to make.

It can also be expensive to make if you're buying the fabric new.  The fabric becomes narrower the more lines of shirring are added, so if you are large busted and need a deep shirred section, or even if you just want a deep shirred section for aesthetic reasons, you may find you need to use fabric up to twice the width of your bust.  For someone like me, with 58" circumference of boobage, this isn't really affordable.

This is where charity shops are a real lifesaver.  An unfitted bedsheet, quilt cover or other cotton bedding for a single bed can provide enough fabric for several tops, and a double enough for more than one generously shirred dress, for under £5.  The same amount of fabric bought new would likely cost around £10-£20, depending.  I buy cotton bedding with attractive patterns, or plain, and then dye it to brighten it up or cover up faded sections and colours I don't particularly like.

 Once you have your fabric, here is how you should measure your pieces.


Sit down and, while sitting, measure your bust at the widest point. Do this sitting to ensure that any changes in the dimensions of your bust caused by your underwire lifting it up are accounted for. If you have a small bust, measure instead the widest part of your body here, whether that be bust, hips or waist.

Now. Multiply that measurement by 2. I cannot emphasise this enough. Measure out the width of the fabric to double your bust measurement. Not one and a half. Not a few inches extra. Double.

Double.

We'll call this measurement A.

Next, take your measuring tape and position it horizontally across the front of your bust to decide where you want the neckline of the top to sit. The top will have a square neckline so you may want to position it a little higher than normal to avoid leaving your bra visible, although if you intend to add nice thick straps or sleeves afterwards this won't be an issue. From the neckline you've chosen, measure midway across your larger breast, down taking in the curve of the bust to where you want the bottom hem of the top to sit. I usually go to the bottom of the hip myself. This is measurement B

Separately, measure the curve of your bust a second time, from the neckline midway over your larger breast to where you want the shirring to stop. This is measurement C.


It is important to think carefully about the shape you want before measuring. See here, the diagram shows how the length of the shirred section (in green) will effect the final sillhouette of the fabric (red and green together) against different body shapes. It is best to decide what shape you want beforehand to give you an estimate of where the shirring will stop. Don't worry though; this isn't set in stone.

Next, cut a straight sided rectangle of fabric of length B and width A, plus an inch or 2 seam allowance. Mark the seam allowance along the length on each edge, and the line indicating measurement C, in tailor's chalk to help you keep your lines straight.

Put the fabric aside for a moment. Now you'll need to fill a bobbin with shirring elastic.
Follow the images as shown. Normally, when filling a bobbin with cotton you'd just do it on the machine. However, many machines will not do this neatly with shirring elastic, so you will likely need to do this manually.
Take the elastic and wind it onto the bobbin by hand, stretching it out as you wind it.
Keep it stretched as you wind so that it is tight on the bobbin and so that it feels as though it wants to unwind itself.


The shirring elastic bobbin goes in the compartment for the bottom thread on your machine, situated under the needle.


Now we're ready to begin! Take your fabric and position it right side facing upwards in the machine, so that you'll be stitching horizontally across the width of the fabric. Make sure your machine is set to a simple straight stitch, and put it on a wide stitch setting, much wider than you would for a seam.

Do the first 3-4 stitches manually rather than using the foot. Then sew as normal, using your hand to gently flatten the fabric as it passes through.


When you reach the end of a row, manually make 2-3 stitches vertically down the side of the fabric. Turn the fabric again so you are set to sew back along parallel to the first line. Again, do the first 3-4 stitches manually and then sew as normal to the end.


Repeat the process for as many rows as you need. Even if you haven't reached the chalk line marking measurement C, take the fabric out of the machine periodically and hold it against yourself to see how far down the shirring has come. You may decide you want a longer or shorter shirred section.

Keep in mind that the deeper the shirred section, the more narrow the final piece will be.  It will never stretch out back to the original width of the fabric, and you lose more width the deeper it becomes.  Hence why we start with double the width needed.


When you are done, simply remove the fabric from the machine.

Looks good, doesn't it? Now you want to sew the piece up into a top. Simply pin the fabric, right sides together, along the vertical line. Replace the shirring bobbin with a bobbin if plain cotton thread and reduce the stitch size to one more suitable for a seam. Sew this one straight line. Technically, you could be done here, but you may want to add straps.


The next step is to try the top on and see how it fits, in case you want to add more shirring before the next step. If you measured the fabric right in the first place you'll have a lovely, neat straight neckline across the bust, and the fabric should neatly conform you your bust shape without pulling or pinching.


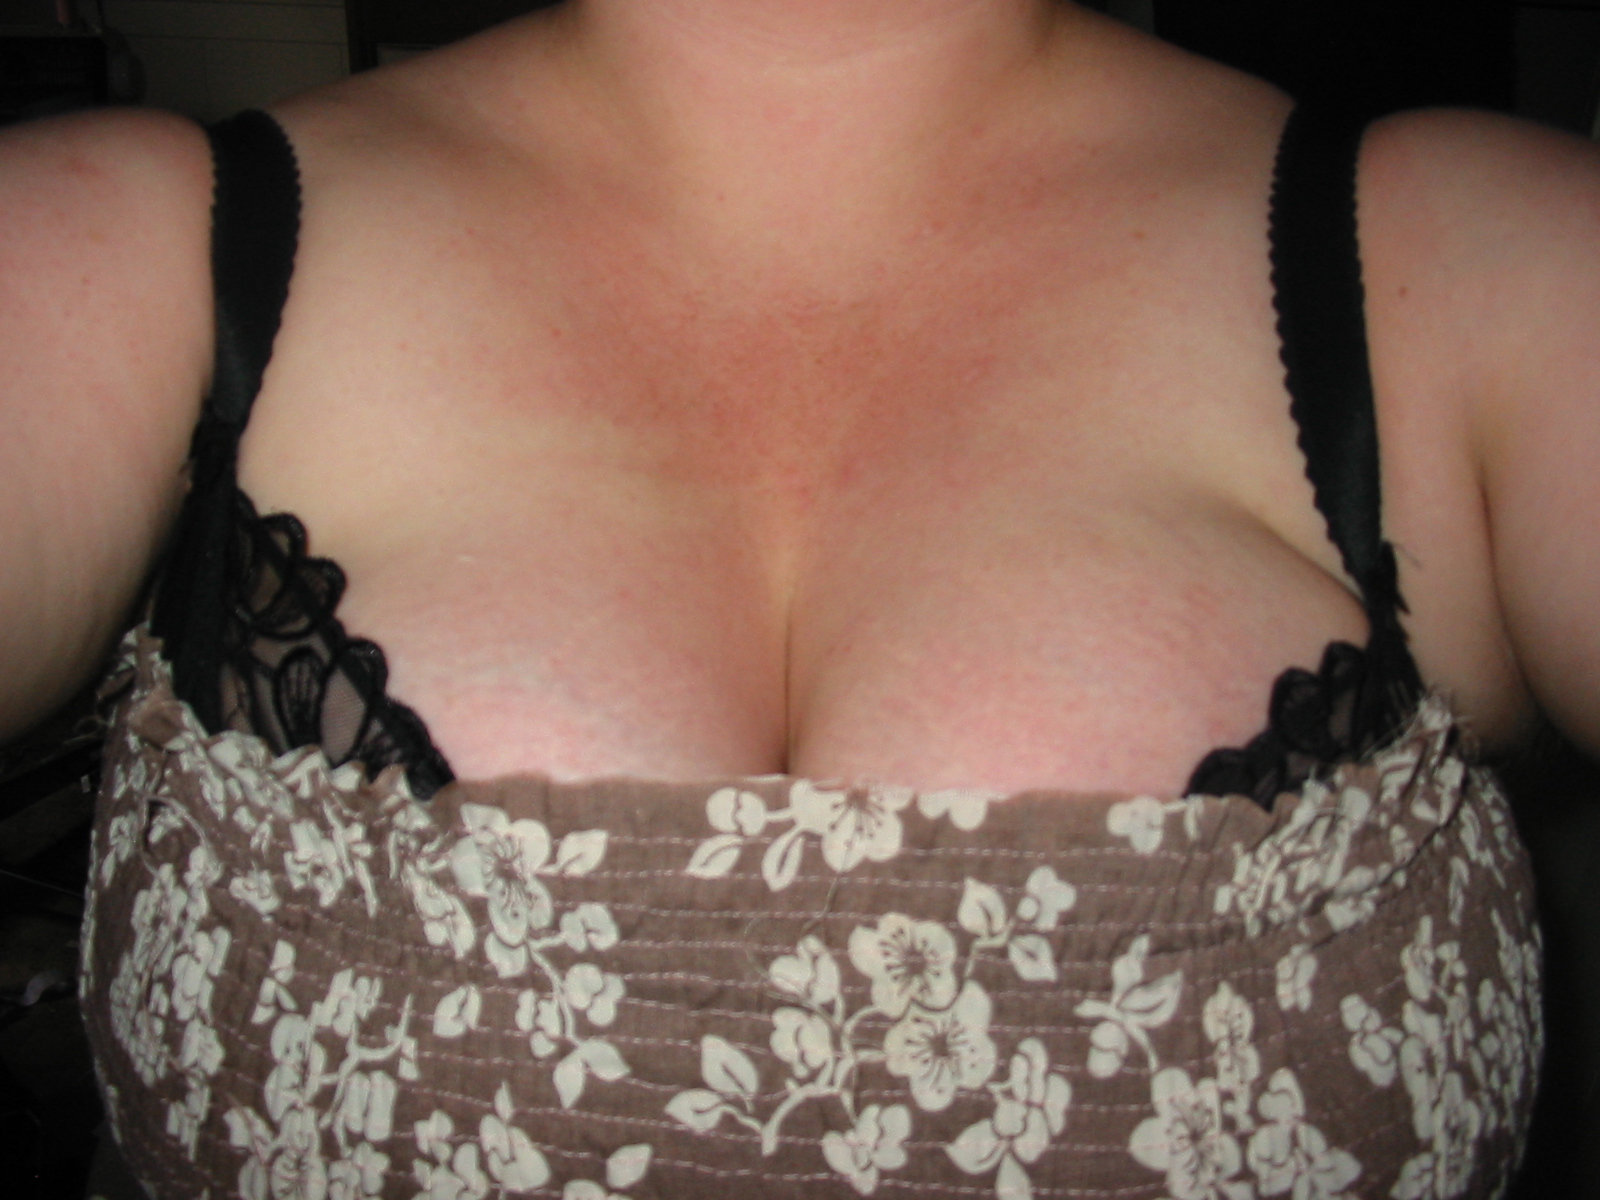
If it looks like this, you've done it wrong. You didn't measure out enough fabric for yourself.  You can't see in the pictures, but the bulging continues down my bust and the shirring stops too high where it has been stretched too much.  It is also far too narrow at the waist; it fits nicely, but doesn't have the lovely drapey effect I wanted.

Fortunately for me, I have a couple of nieces aged 6 and 7 and I think this might just fit one of them perfectly as a dress!


Tune in tommorrow when I add part 2; turning this item into a child's dress including adding straps, finishing the edges and decorating with lace and pockets.